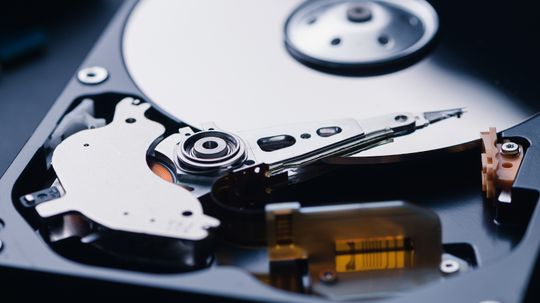
Y’all ready to take yo’ computer game to the next level? Well, hold on tight ’cause we ’bout to show you how to add a fresh new hard drive like a pro. Ain’t no need for fancy tech jargon or complicated instructions here – just follow these 8 simple steps and watch yo’ computer swang!
Saddle Up: Gather Your Tools and Prep Yo’self
Before we dive into the nitty-gritty, make sure you got all the tools you need by your side. Grab that trusty screwdriver, some extra screws (just in case), and of course, your shiny new hard drive. Now let’s get this party started!
Poppin’ That Hood: Open Up Yo’ Computer Case
We gotta get inside that beastly machine first! Shut it down proper-like, unplug everything from the back, then gently remove them screws holdin’ up the side panel of yo’ computer case. Slide that bad boy off and set it aside – now we’re talkin’. Time to see what lurks beneath.
Cable Shuffle: Connect Them Wires Like a Boss
You see them cables hangin’? We gonna connect our new hard drive right alongside those existing ones. Find an empty SATA port on yo’ motherboard – they usually look like little L-shaped connectors – and plug one end of your SATA cable into it. The other end goes straight into your brand spankin’ new hard drive.
Screw It Tight: Secure That Hard Drive Real Good
No wobblin’, no jigglin’, we want this baby locked in tight. Grab them screws and attach your hard drive to one of them empty bays inside yo’ computer case. Make sure it’s snug as a bug – we don’t want no loose ends messin’ with our precious data.
Power Play: Give That Hard Drive Some Juice
Ain’t no use havin’ a fancy new hard drive if it ain’t got the power to back it up! Locate an available power connector from yo’ power supply unit (PSU) – they usually look like little rectangular plugs – and connect that bad boy to your fresh hard drive. Now we talkin’ business!
Cover It Up: Put Yo’ Computer Case Back On
We almost done, y’all! Slide that side panel right back on, screw it down tight, and make sure everything is nice and secure. We gotta keep all them components safe and sound while they work their magic together.
Fire It Up: Boot That Baby into Action
You ready for the moment of truth? Plug everything back in, press that shiny power button, and watch yo’ computer come alive with its brand new addition. If you did everything right, you should see that fresh hard drive show up in yo’ file explorer or disk management tool.
The Final Touches: Format and Celebrate!
Last but not least, we gotta get things organized proper-like. Open up your disk management tool – just search for “disk management” in your Windows search bar – find that new hard drive listed there, right-click on it, select “Format,” choose a name for this baby if you feel like givin’ her some personality, then hit “OK.” And voila! You’re now rollin’ with a brand spankin’ new hard drive, ready to store all yo’ precious files and take on the world!
Wrap It Up: Time to Get Swangin’
Now that you know how to add a new hard drive like a true computer whiz, ain’t no limit to what you can do. So go ahead, get swangin’, and let your creativity run wild with all that extra storage space at your fingertips. Yeehaw!
